There are a lot of mistakes new music makers make when setting up studio monitors.
Why spend hundreds of dollars on a pair of top-notch studio monitors if you can’t get the most out of them?
I know, it’s easy to get caught up in the excitement of setting up your new gear.
However, amidst the anticipation, there are a minefield of potential pitfalls waiting to trip up even the most seasoned audio enthusiast. From placement blunders to overlooking crucial calibration steps, navigating the setup process requires finesse and attention to detail.
In this guide, we’ll highlight the common missteps that can sabotage your audio experience.
Some of these errors might surprise you. You may even be making some of these mistakes as you read this post. But avoiding these common mistakes could mean the difference between amateurish and professional-grade audio.
Overview: 7 Mistakes to Avoid When Setting Up and Using Studio Monitors
1. Not Thoroughly Researching Multiple Options Before Buying
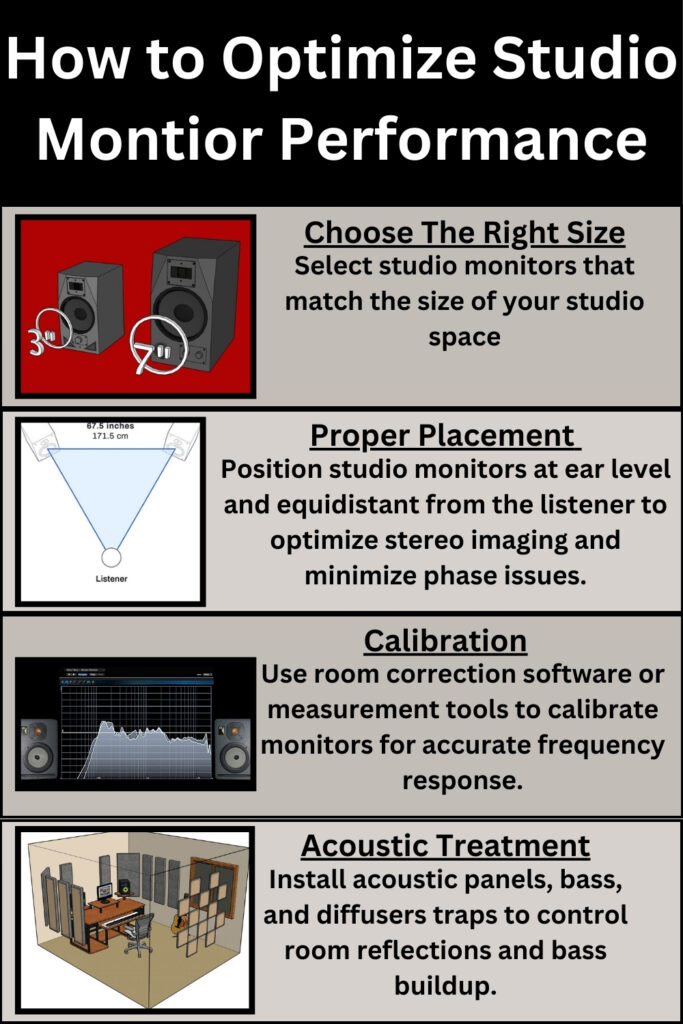
2. Not Choosing the Right Studio Monitor Size
3. Not Positioning Your Studio Monitors Correctly
4. Not Calibrating Your Monitors
5. Not Calibrating Your Monitors
6. Disregarding Volume Control and Monitoring Levels
7. Failing to Perform Regular Maintenance
Mistake # 1: Not Thoroughly Researching Multiple Options Before Buying
Choosing the Right Studio Monitors
Selecting the perfect studio monitors is the cornerstone of any professional audio setup.
Just like a painter meticulously selects his club for each shot, choosing the right studio monitors for your studio requires careful consideration.
It’s not just about picking the fanciest brand or the sleekest design; it’s about finding the monitors that will deliver clarity and precision in your studio.
Importance of Researching and Selecting Studio Monitors
Before buying studio monitors, take a moment to research.
Understand your specific requirements and the limitations that your space may present.
Are you working in a small bedroom studio or a spacious professional space?
What genre of music do you primarily produce?
These are crucial questions that will guide you toward the monitors best tailored to your needs.
Remember, it’s not just about the price tag; it’s about finding the perfect balance between performance and affordability.
Factors to Consider: Frequency Response, Size, and Power
When it comes to studio monitors, one size does not fit all.
Pay close attention to technical specifications such as frequency response, size, and power handling.
A monitor with a flat frequency response will ensure accurate sound reproduction across the entire sound spectrum.
Additionally, the size of a monitor will impact its low-frequency reproduction and overall output.
Lastly, consider the power handling capabilities to ensure your monitors can handle the dynamics of your music without strain or distortion.
Avoid Choosing Monitors Based on Brand or Aesthetics
It’s easy to fall into the trap of choosing studio monitors based on brand recognition or aesthetics alone.
After all, who doesn’t want a sleek pair of monitors that look as good as they sound?
However, prioritizing style over substance can lead to disappointment in the long run. Instead, focus on the technical specifications and performance of the monitors.
Remember, it’s what’s under the hood that truly matters. So, resist the temptation of being swayed by flashy branding. Prioritize performance above all else.
Mistake # 2: Not Choosing the Right Studio Monitor Size
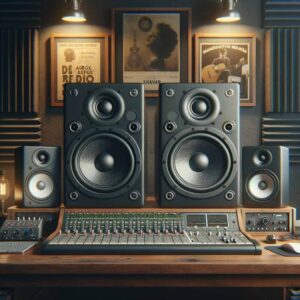
Smaller Studio Monitor Advantages and Disadvantages
The importance of selecting the right size studio monitors cannot be overstated, especially when considering the dimensions of your studio space.
For those working in smaller studio spaces, opting for compact monitors is a smart move.
Smaller monitors not only save valuable real estate but also offer acoustic advantages.
Large monitors can overwhelm a small room, causing unwanted reflections and muddying your playback audio.
Smaller monitors, on the other hand, excel in creating a more focused sound field. This is due to the closeness of their drivers within a compact cabinet, creating a cohesive, unified sound coming from a single point.
While small monitors may exhibit reduced low-frequency performance compared to their larger counterparts, this drawback becomes less pronounced in smaller rooms.
So, if you find yourself working in a cozy bedroom studio or a compact home office, smaller monitors are your ticket to sonic clarity and spatial efficiency.
Large Studio Monitor Advantages and Disadvantages
In a larger studio environment, the robust capabilities of large studio monitors truly shine.
Equipped with larger drivers and powerful amplifiers, these monitors effortlessly generate higher levels of sound pressure level (SPL) without succumbing to distortion.
This means that even at elevated volumes, your audio remains crisp, clear, and free from any unwanted artifacts, ensuring an immersive audio experience that fills the room with pristine sound.
Moreover, the increased size of these monitors allows them to move more air, resulting in a more authoritative and defined low-end reproduction.
With an extended frequency response, larger monitors excel at capturing the nuances of low frequencies with remarkable accuracy.
This clarity in the low-end spectrum empowers you to make more informed and precise mixing decisions, ensuring that your bass frequencies are well-balanced and seamlessly integrated into your productions.
Mistake #3: Not Applying Proper Acoustic Treatment

Understanding Room Acoustics
Room acoustics influence how your studio monitors perform in your space.
From the size and shape of the room to the wall materials, every aspect of its architecture interacts with sound in unique ways.
Common Acoustic Problems
Acoustics presents a host of common challenges that can impede the accuracy of your studio monitors.
Sound reflections, those pesky echoes bouncing off walls and surfaces, can blur the clarity of your audio, causing you to make misinformed mixing decisions.
Standing waves, the result of sound waves bouncing back and forth between parallel surfaces, can skew your perception of sound balance.
And let’s not forget about bass buildup, the phenomenon where low frequencies accumulate in certain areas of the room, wreaking havoc on your mix’s low-end clarity.
The Importance of Acoustic Treatment and Positioning
In the battle against these acoustic adversaries, you can take strategic measures to mitigate their impact.
By strategically placing acoustic panels, bass traps, and diffusers throughout your studio, you can tame reflections, tame standing waves, and neutralize bass buildup, creating a more controlled and balanced listening environment.
Additionally, carefully consider your monitor placement. Consider factors such as distance from walls, symmetry, and listener position. These factors further optimize the effectiveness of your acoustic treatment.
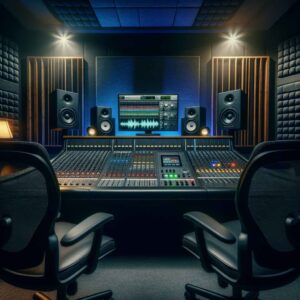
Mistake #4: Not Positioning Your Studio Monitors Correctly
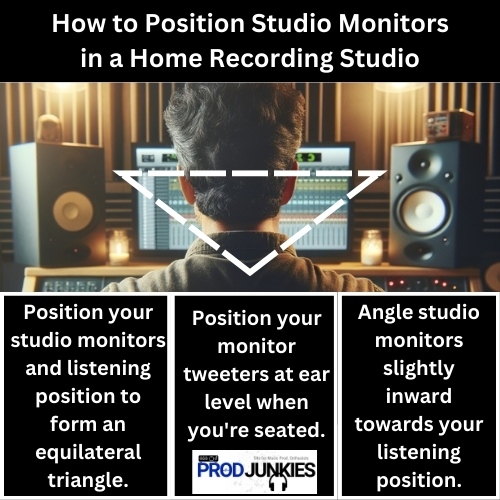
How you position your studio monitors is a critical factor in unlocking the full potential of your audio setup.
A cardinal rule of monitor placement is avoiding placing them too close to walls or corners.
Why?
Because walls and corners can introduce bass buildup, causing low-frequency sound waves to accumulate creating uneven bass response throughout your room.
Try giving your monitors some breathing room. Place them away from room boundaries to create a cleaner, more transparent listening environment.
Equally important is ensuring that your monitors are at ear level. Your ears are the most valuable tools in your studio.
Consider aligning them with your studio monitors for accurate monitoring.
Additionally, maintaining an equilateral triangle between your listening position you’re your monitors—where the distance from each monitor to the listener is equal—further enhances stereo imaging and ensures balanced sound dispersion.
This symmetrical arrangement minimizes potential phase issues and frequency irregularities, resulting in a more precise and immersive monitoring environment.
So, when it comes to placement and positioning, remember precision is key, and a little strategic planning goes a long way in achieving professional-quality mixes.
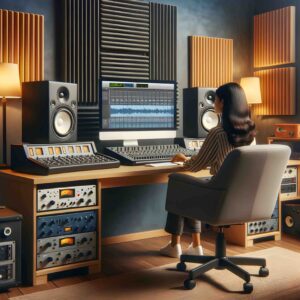
Mistake #5: Not Calibrating Your Monitors
Calibration and Speaker Setup
Calibrating your studio monitors can’t be overlooked.
Why? Because the accuracy of your monitors’ frequency response lays the foundation for everything else in your audio chain.
One common mistake that many aspiring audio enthusiasts make is assuming that their monitors sound accurate straight out of the box. This couldn’t be further from the truth.
Monitors, like any other piece of audio equipment, require calibration to perform at their full potential.
Without proper calibration, you’re flying blind, relying on monitors that may be coloring your sound in ways you can’t perceive.
Fortunately, in today’s tech-savvy world, there are plenty of tools at your disposal to aid in the calibration process.
Room correction software and measurement tools allow you to analyze your room’s acoustic characteristics.
They’ll also help you identify any frequency anomalies that may be skewing your sound.
Armed with this information, you can then apply corrective measures to mitigate these issues, resulting in a more transparent and balanced listening environment.
Don’t fall into the trap of neglecting this crucial step.
Take the time to calibrate your monitors properly so you can feel confident in your mixing decisions.
Mistake #6: Disregarding Volume Control and Monitoring Levels
Volume Control and Monitoring Levels
The delicate balance of volume control in your studio is often underestimated.
Maintaining appropriate monitoring levels is essential to avoid distortion, preserve dynamic range, and prevent ear fatigue during long mixing sessions.
It’s tempting to crank up the volume to feel the full force of your music but doing so can lead to misleading mix decisions and long-term damage to your hearing.
Aim for a comfortable listening level that allows you to discern details and nuances in your audio without causing undue strain on your ears.
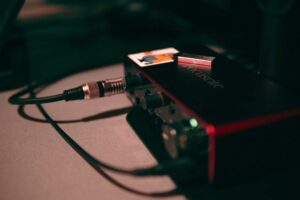
Mistake #7: Failing to Perform Regular Maintenance
Overlooking regular maintenance can have detrimental effects on the performance and longevity of your equipment.
Studio monitors, like any other piece of gear, require ongoing care to ensure they operate at their peak efficiency.
One of the most crucial aspects of regular maintenance is checking cables and connections for signs of wear and tear. Over time, cables can become frayed, and connections can loosen, all of which can compromise the integrity of your audio signals.
By performing routine inspections and replacing worn components as needed, you can prevent potential issues from escalating and keep your studio monitors performing at their best.
By prioritizing regular maintenance as part of your studio routine, you not only prolong the lifespan of your equipment but also ensure that your studio remains reliable over time.
Conclusion: Common Mistakes to Avoid When Setting Up Studio Monitors
From overlooking room acoustics to neglecting regular maintenance, we’ve uncovered a bunch of pitfalls that can sabotage your audio experience.
However, you now have the knowledge to sidestep these obstacles.
Whether it’s calibrating your monitors, optimizing room acoustics, or maintaining your equipment, every step in the process contributes to the fidelity of your playback audio.
So, take the time to fine-tune your monitoring environment and refine your techniques.
Your ears—and your music—will thank you for it.