Are you tired of second-guessing your mixes, battling with muddy bass, and struggling to achieve clarity in your recordings?
Even the most expensive studio monitors won’t solve these problems if your listening environment is plagued by poor acoustics.
It’s time to unlock the full potential of your studio monitors and elevate your mixing environment with acoustic treatment.
Welcome to our comprehensive guide on how to optimize your studio monitor performance using proper acoustic treatment.
In this post, we’ll delve into the art and science of creating an optimal acoustic home studio that allows your studio monitors to shine.
Say goodbye to guesswork and say hello to a home studio where every note, every beat, and every nuance is faithfully reproduced with stunning accuracy.
How can you achieve this?
Let’s dive in and discover how you can elevate your mixes to professional audio standards.
Overview
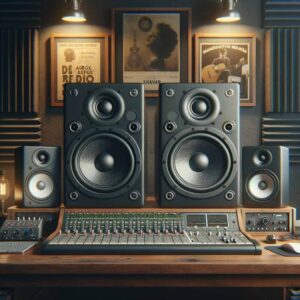
Optimizing your studio monitors through acoustic treatment involves strategically placing absorption panels, bass traps, and diffusers.
These acoustic treatment tools minimize sound reflections and standing waves, resulting in a more balanced and accurate sound reproduction. Additionally, they’ll enhance stereo imaging and spatial accuracy which will help improve your mixes.
Understanding Room Acoustics
Room acoustics focuses on how sound behaves in enclosed spaces, such as recording studios.
It analyzes how it travels, reflects, and interacts with the surfaces and objects in a room.
Imagine clapping your hands in an empty room – you’ll likely hear a series of echoes. These phenomena are all part of room acoustics.
Every room has a unique acoustic fingerprint, determined by its size, shape, construction materials, furnishings, and other factors. For example, a small, carpeted room with soft furnishings has different acoustics than a large, bare-walled auditorium.
Understanding room acoustics is important for anyone in audio production. It can significantly enhance your listening experience and improve the quality of your recordings and mixes.
We’ll go into more detail on room acoustics in the upcoming sections. Here are the topics we’ll discuss in this article:
– How room acoustics affect studio monitor performance.
– What problems do poor room acoustics cause?
– How to improve the acoustics in your space for optimal studio monitor performance.
Follow along as we explore how to design the ideal audio environment for your needs.
Factors That Influence Room Acoustics (Size, Shape, Materials, Furnishing)
Various factors affect the acoustics in a room. The four main factors are size, shape, material, and furnishings.
Size
A room’s size impacts its acoustic response.
Sound reflections tend to scatter more in larger rooms which leads to longer reverberation times.
The reason these reflections scatter more in larger rooms is due to the increased distance between surfaces.
Conversely, sound waves tend to bounce back and forth between surfaces more rapidly in smaller rooms since there are shorter distances between surfaces.
When there are shorter distances between surfaces sound waves decay faster.
Shape
The shape of your studio space also plays a pivotal role in determining the distribution of sound waves and the rate of reflections.
Irregularly shaped rooms with uneven surfaces can cause sound to diffuse and scatter in complex patterns.
Conversely, rooms with parallel walls and flat surfaces may suffer from excessive reflections and flutter echoes.
Therefore, rooms with parallel walls can lead to sonic coloration and degrade the quality of your audio.
Materials
Another factor that influences your room’s acoustics is the materials used in constructing your walls, floors, and ceilings.
For instance, hard, reflective surfaces such as concrete, glass, and tile tend to reflect sound waves, causing strong reflections and reverberations.
In contrast, soft, absorptive materials like carpeting, drapes, and acoustic panels absorb sound energy, reducing reflections and enhancing the clarity of your audio playback.
Furnishings
The furnishings and decorations within your studio space room can further shape its acoustic characteristics.
Soft, upholstered furniture and plush rugs can absorb high-frequency sound waves. These absorptions reduce the number of high-frequency reflections in your room, resulting in a cleaner and more controlled sound environment.
Additionally, the presence of soft furnishings can help dampen mid-range frequencies, smoothing out the frequency response and reducing harshness in your playback audio.
Pro Tip: Minimizing Acoustic Reflections
You can minimize acoustic reflections and improve the sonic quality of your audio by strategically placing upholstered furniture, rugs, and curtains throughout your studio space.
Takeaway: Factors That Influence Room Acoustics
The size, shape, materials, and furnishings of a room collectively contribute to its acoustic signature, influencing the way sound behaves within it.
You can optimize your listening environment by understanding these factors and implementing appropriate acoustic treatments and design strategies.
Common Acoustic Issues in Untreated Rooms
Room acoustics are paramount when it comes to creating an optimal listening environment.
In untreated rooms, several common acoustic issues can arise, significantly impacting the sound you hear from your studio monitors.
Let’s explore these challenges in more detail.
Reverberations
One of the most prevalent issues in untreated rooms is excessive reverberation or echo.
Reverberation occurs when sound waves bounce off hard surfaces such as walls, floors, and ceilings.
How do reverberations affect the audio coming from your studio monitors?
In untreated rooms with reflective surfaces, reverberations can blur the clarity of your audio playback.
This phenomenon may make it difficult to discern individual sounds and affect the tonal balance in your space.
Lingering reverberations can mask subtle details in your recordings and playback audio. Not controlling these reverberations can compromise the accuracy of the audio you hear in the monitoring and mixing processes.
Standing Waves
Another common acoustic issue in untreated rooms is the formation of standing waves.
Standing waves occur when sound waves reflect between parallel surfaces in a room, reinforcing specific frequencies while canceling out others.
These stationary wave patterns can result in uneven frequency response and exaggerated bass buildup at certain frequencies.
As a result, you’ll likely hear boomy or hollow-sounding audio.
Standing waves can also cause spatial irregularities in your listening environment.
These irregularities can create sweet spots and null points due to uneven and inconsistent sound reproduction.
Reflections
Untreated rooms often suffer from excessive reflections.
Due to excessive reflections, sound waves will bounce off surfaces and create multiple arrival points at the listener’s ears.
This phenomenon, known as comb filtering, can result in irregularities in the frequency response. Therefore, certain frequencies will be reinforced or attenuated depending on the listener’s position within the room.
These variations can make it difficult to accurately assess the tonal balance and clarity of your playback audio.
Takeaway: Common Acoustic Issues in Untreated Rooms
Untreated rooms often suffer from compromised sound quality and reduced fidelity, hindering the accuracy of your playback audio.
This issue isn’t ideal when you’re mixing and mastering.
Addressing excessive reflections through acoustic treatment and sound diffusion techniques is essential for creating a more accurate and immersive listening environment.
The Interaction Between Studio Monitors and Room Acoustics
Studio monitors provide critical feedback on your audio quality during the recording, mixing, and mastering processes.
However, the acoustic characteristics of your studio space can significantly influence their performance.
Let’s delve into the interaction between studio monitors and room acoustics.
Understanding the Relationship
Room acoustics play a crucial role in shaping the way sound waves interact within a space.
When a studio monitor projects sound, sound waves interact with the surfaces in your room—walls, ceilings, floors, and furnishings. These interactions can lead to reflections, reverberation, standing waves, and modal resonances.
Impact on Frequency Response
Room acoustics can affect a studio monitor’s frequency response.
Reflections from room surfaces can cause peaks and nulls in the frequency spectrum, leading to an uneven frequency response. In other words, certain frequencies may be exaggerated or attenuated.
Understanding and addressing these frequency response irregularities is crucial for achieving a balanced and accurate monitoring environment.
Stereo Imaging and Spatial Accuracy
Room acoustics also affect stereo imaging and spatial accuracy—the ability to perceive the location and placement of sounds within the stereo field.
Reflections and standing waves can smear the stereo image, causing sounds to lose their precise localization and clarity.
This can make it challenging for you to accurately position instruments and sounds within the mix, leading to spatial inconsistencies and sonic artifacts.
Minimizing Acoustic Distortions
You can employ various acoustic treatment methods to mitigate the adverse effects of room acoustics on your studio monitors.
For instance, acoustic panels, bass traps, diffusers, and absorption materials can help control reflections. They can also attenuate standing waves.
Employing these methods can improve the overall sound quality in your listening environment.
Takeaway: The Interaction Between Studio Monitors and Room Acoustics
Understanding how room acoustics influence studio monitor performance is essential for achieving accurate monitoring and mixing results.
You can create an optimized listening environments that facilitate precise decision-making when mixing and mastering.
How? By addressing acoustic issues and implementing appropriate treatment solutions.
Placement Techniques to Minimize Acoustic Issues and Maximize Studio Monitor Performance

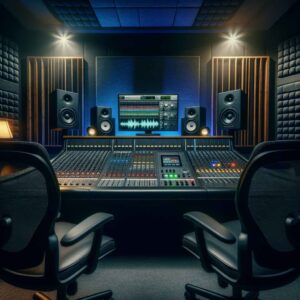
Strategically placing your studio monitors within your recording studio is crucial for optimizing their performance and minimizing the impact of room acoustics.
By carefully positioning studio monitors, you can mitigate acoustic issues such as reflections, standing waves, and frequency response anomalies, resulting in more accurate and reliable monitoring.
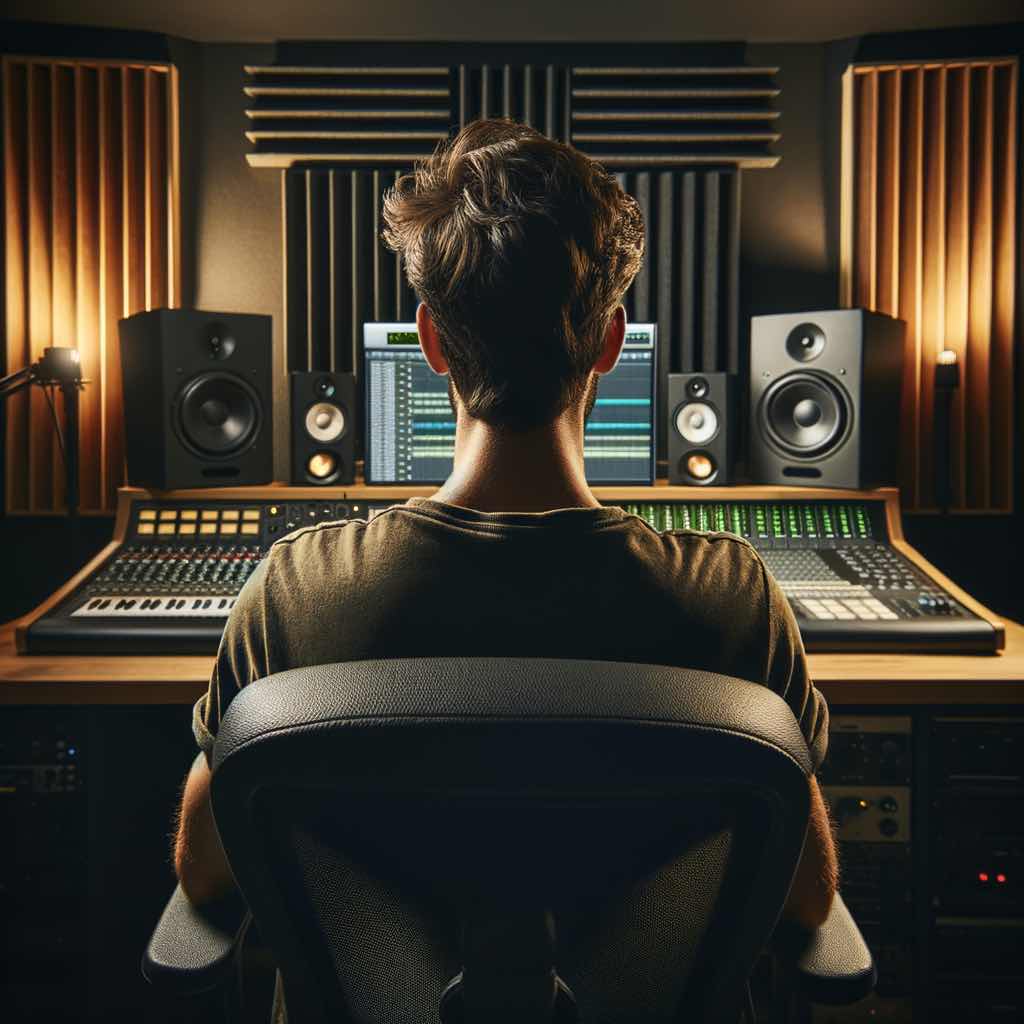
Optimize Your Listening Position
To get the most out of your studio monitors, start by finding the perfect spot to sit in your room.
Make sure your sitting position is equally distant from the left and right monitor.
Avoid sitting too close to the walls and corners to reduce reflections, standing waves, and bass buildups.
This strategic placement ensures a balanced listening experience and enhances the accuracy of sound reproduction from your studio monitors.
Symmetrical Placement
Studio monitors should be symmetrically placed within the room to ensure balanced sound reproduction and stereo imaging.
Ideally, the distance between each studio monitor and the side walls should be equal to the distance between the monitors themselves.
This symmetrical placement helps to minimize asymmetrical reflections and ensures uniform coverage of the listening area.
Decoupling and Isolation
To further improve studio monitor performance, it’s essential to decouple them from the room’s surfaces and minimize vibrations that can affect sound quality. You can do this by using isolation pads or stands to elevate and isolate the studio monitors from your desk.
Additionally, you can place acoustic treatment materials behind your studio monitors to absorb rear reflections and improve sound clarity.
Angle and Height Adjustment
Adjusting the angle and height of studio monitors can also have a significant impact on their performance and the accuracy of sound reproduction.
Try tilting your studio monitors slightly inward to help direct sound toward your ears.
Similarly, adjusting the height of the studio monitors to ear level can improve stereo imaging and spatial localization.
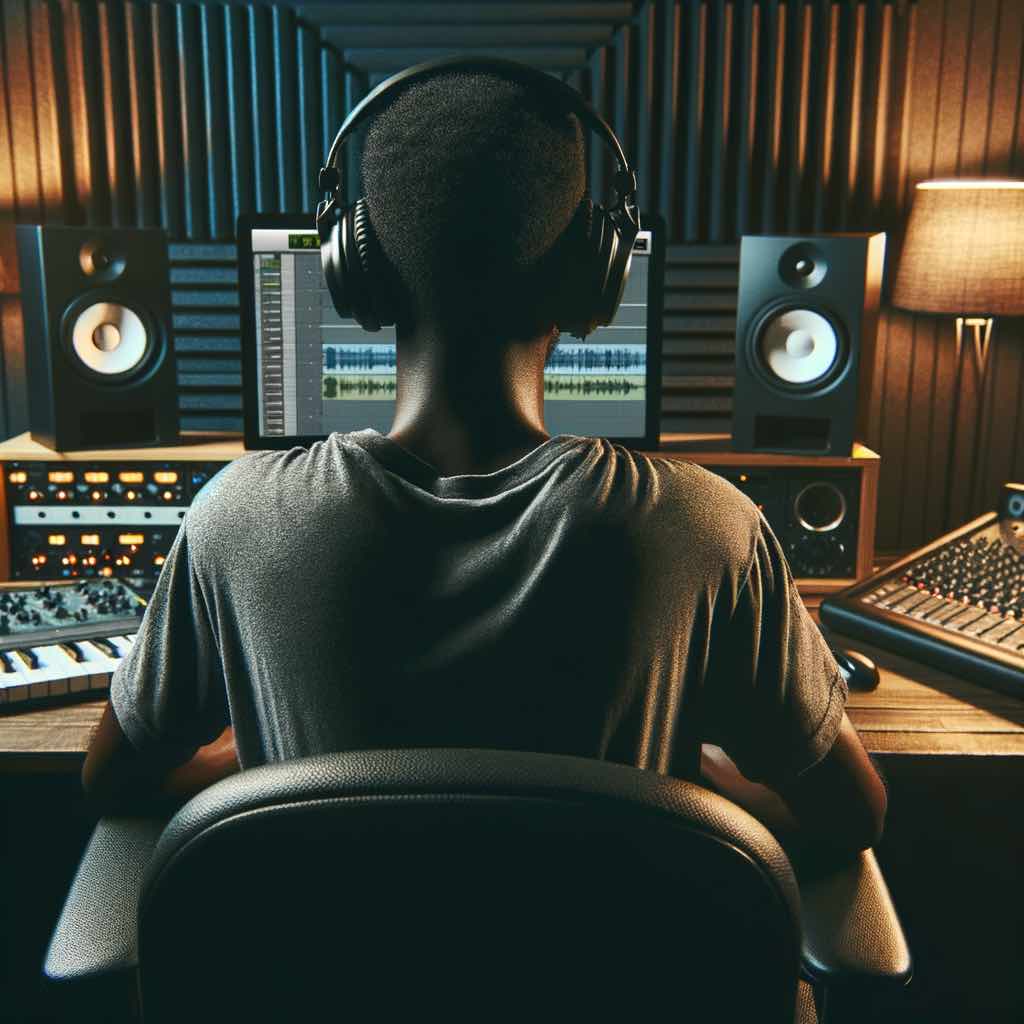
Regular Calibration and Testing
Finally, it’s essential to regularly calibrate and test studio monitor placement to ensure optimal performance. This can involve using measurement microphones and room correction software to analyze frequency response and identify any acoustic anomalies that you’ll need to address.
By continuously monitoring and adjusting studio monitor placement, you can maintain a consistent and accurate listening environment for mixing and mastering.
Takeaway: Studio Monitor Placement Techniques
Strategically placing your studio monitors is essential for minimizing acoustic issues and maximizing their performance in varying room environments.
By implementing placement techniques such as optimizing listening position, symmetrical placement, decoupling and isolation, angle and height adjustment, and regular calibration and testing, you can create an optimal monitoring environment that facilitates accurate and reliable sound reproduction.
Optimizing Studio Monitor Performance with Acoustic Treatment
Acoustic treatment plays a crucial role in optimizing the performance of studio monitors by addressing common acoustic issues and creating a more controlled listening environment.
Here’s how you can use acoustic treatment to maximize the performance of your studio monitors:
Identify Acoustic Issues
Before implementing acoustic treatment, it’s essential to identify any acoustic issues present in your listening environment.
Common issues include reflections, reverberations, standing waves, and bass buildups.
You can use measurement microphones and room analysis software to identify frequency response anomalies and acoustic hotspots within your room.
Strategically Place Absorption Panels
Once you’ve identified acoustic issues, strategically place absorption panels at reflection points throughout your room.
Reflection points are areas where sound waves bounce off surfaces and cause reflections. By placing absorption panels at these points, you can minimize reflections and improve sound clarity in your space.
Install Bass Traps
To address bass buildups and low-frequency resonances, install bass traps in room corners and along walls where bass energy tends to accumulate.
Bass traps absorb low-frequency sound waves and help to reduce standing waves, resulting in a more balanced bass response and improved clarity in the low-end frequencies of your playback audio.
Use Diffusers for Even Dispersion
In addition to absorption panels and bass traps, consider incorporating diffusers into your acoustic treatment setup.
Diffusers scatter sound waves in multiple directions, creating a more diffused sound field and minimizing the formation of standing waves and flutter echoes.
Place diffusers strategically behind the listening position and along sidewalls to achieve even dispersion of sound throughout your space.
Calibrate and Fine-Tune
Once you’ve implemented acoustic treatment, calibrate, and fine-tune your studio monitor setup to ensure optimal performance.
Use room correction software and measurement microphones to analyze frequency response and make necessary adjustments to achieve a flat and accurate sound reproduction.
Regularly test and recalibrate your studio monitors to maintain consistent and reliable monitoring performance over time.
Takeaway: Optimizing Studio Monitor Performance with Acoustic Treatment
By implementing these acoustic treatment techniques, you can optimize the performance of your studio monitors and create a more accurate and controlled listening environment when mixing and mastering.
Conclusion
Unlocking the full potential of your studio monitors begins with understanding the critical role that proper acoustic treatment plays in shaping your listening environment.
By implementing strategic placement of absorption panels, bass traps, and diffusers, you’ve taken a crucial step towards creating a balanced, accurate, and inspiring listening environment.
Now, armed with the knowledge and tools to conquer your acoustic challenges, you’re poised to elevate your audio productions to new heights of clarity, depth, and precision.
So go ahead, immerse yourself in the world of acoustic treatment, and let your studio monitors unleash their full capabilities.