Do you really need an audio interface to connect studio monitors to your computer?
Can’t you just connect them directly?”
You can…
But the best way to optimize sound quality is through an audio interface.
This post explains why.
Essentially, audio interfaces specialize in audio production.
Connecting your monitors through an audio interface helps maintain the accuracy and clarity of your audio during playback.
We’ll go into more detail on this in the following sections.
Overview
Technically, you don’t need an audio interface for studio monitors. However, using one will improve playback quality since audio interfaces tend to have studio-quality digital-to-analog (D/A) converters.
Why you Need an Audio Interface for Studio Monitors
Any device capable of playing sound from digital files has a sound card – computer, phone, tablet, etc.
As a result, you can connect studio monitors to all these devices and generate sound.
However, audio interfaces have far better sound cards than your regular devices.
What’s the Purpose of a Sound Card?
Part of the job of a sound card is to convert digital files into audio signals through a digital-to-analog (D/A) converter.
Your device’s D/A converter plays a critical role in playback quality.
It’s responsible for reading data and producing audio waveforms almost instantly.
Luckily, audio interfaces have specialized D/A converters for music production.
They can produce a nearly identical version of your audio, allowing you to make better mixing decisions.
Conversely, lower-quality converters in computers can add noise and alter frequencies in your signals.
How to Connect Studio Monitors without an Audio Interface
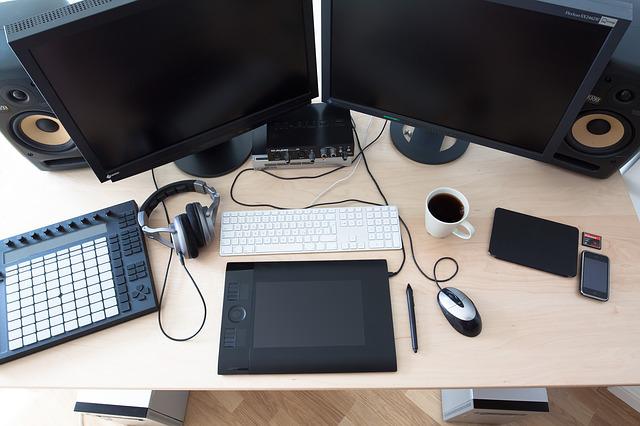
Phones, tablets, and computers all have D/A converters.
As a result, you can directly connect your studio monitors to these devices and generate sound.
We don’t recommend this method. But it can be a temporary solution if you don’t have an interface at the moment.
All you need to do is connect your computer’s 3.5mm headphone output to your studio monitors’ inputs.
Depending on your gear, each studio monitor will likely have a separate mono input – either ¼-inch or XLR.
Cables for Connecting Studio Monitors to your Devices
- ¼ Inch Inputs: Dual ¼ Inch to 3.5mm Cable Y Splitter Cable
- XLR inputs: Dual XLR Male to 3.5mm Y Splitter Cable
For ¼-inch inputs, you can use a dual ¼ inch to 3.5mm cable.
This cable separates a single stereo signal from a 3.5mm output into two mono signals for each studio monitor.
Each monitor will work independently with this setup, letting you hear panning through each.
For XLR inputs, you can also use a dual XLR male to 3.5mm cable.
How to Connect
Step 1: Connect a 3.5mm aux into your computer’s headphone jack
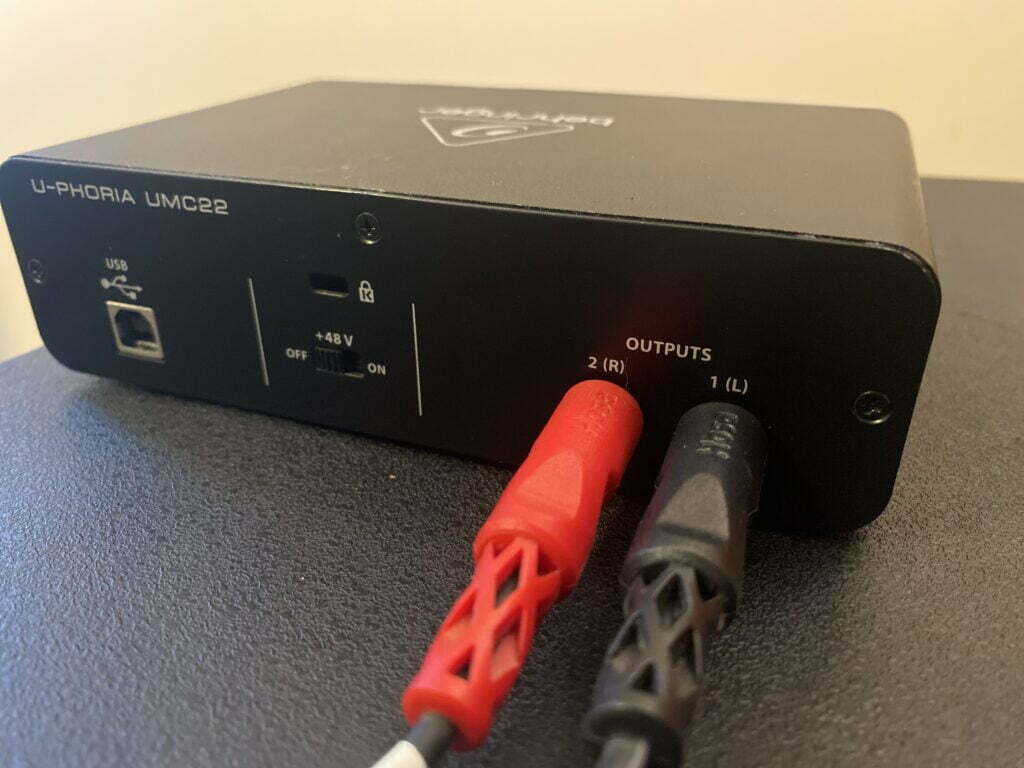
Step 2: Insert red ¼ cable into your right studio monitor – the right cable is usually red or marked with a red ring.
Step 3: Insert the other cable into your left studio monitor
Benefits of using an Audio Interface
Better Sound Quality
If you can connect your studio monitors to your computer, what’s the point of an audio interface?
There are a few reasons you see an audio interface in every studio.
The sound cards in audio interfaces can process professional quality audio.
A/D Converter
As mentioned before, part of the role of a sound card is to convert digital files into analog signals through a D/A converter.
Another job of a sound card is to turn incoming audio signals into digital files that your computer can process – through an analog-to-digital (A/D) converter.
D/A Converter
Your computer stores your audio as data – or digital files.
A D/A converter translates digital files into audio waveforms.
As a result, any sound from your studio monitors is a product of your D/A converter.
Why is connecting your studio monitors through an audio interface better?
The D/A converters in audio interfaces are better than the ones in computers.
They can reproduce audio frequencies with greater accuracy and precision.
On the other hand, D/A converters in computers tend to alter frequencies causing you to make misinformed mixing decisions.
Reduces Latency
Audio interfaces reduce latency.
Latency is the time between when your audio enters your inputs and remerges through your outputs.
For example, it’s the delay between playing a note on your MIDI keyboard and hearing it playback through your speakers.
As you know, audio goes through multiple stages before it reaches an output.
An audio interface will reduce the time it takes for your audio to go through each stage.
They also have direct monitoring, which lets you hear audio directly from your inputs for near-zero latency recording.
On the other hand, your computer’s round-trip latency can be as high as 30ms.
[Click here to learn how audio interfaces reduce latency]
How to Connect Studio Monitors to an Audio Interface
Cables
1/4 Inch Inputs: 2 x ¼-Inch TRS to TRS Cables
XLR Inputs: 2 x XLR Male to 1/4-Inch TRS Cables
How to Connect
Each studio monitor in a pair typically has its own input.
You can link each monitor’s input to the main outputs on your audio interface.
First, connect your right monitor’s input to your audio interface’s right main output.
Then, connect your left monitor’s input to the left main output.
Once completed, each monitor works independently for panning and mixing.
How to Connect Multiple Studio Monitors to Audio Interface
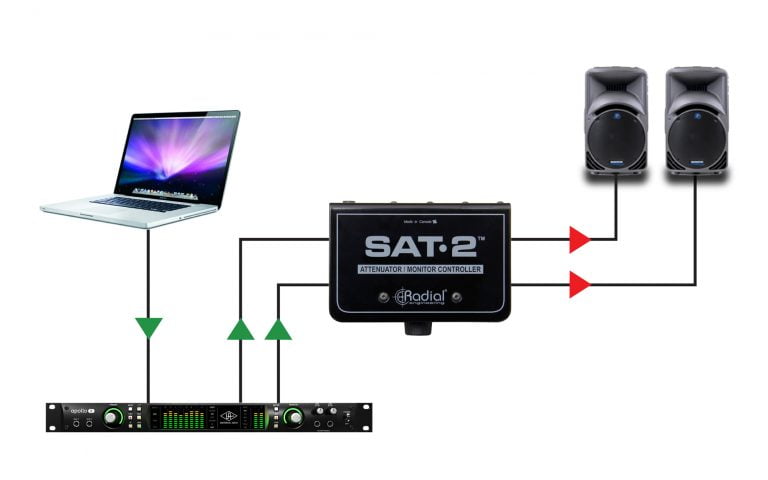
With an audio interface, you can also connect multiple sets of monitors.
To do so, you can use an analog monitor control box.
This device will split your main output into multiple channels.
A well-known analog monitor control box is the PreSonus Monitor Station V2.
Can you use an External Sound Card Instead of an Audio Interface?
You can use an external sound card with studio monitors.
However, an audio interface will produce better sound quality.
3 Differences Between an Audio Interface and a Sound Card?
Audio interfaces are technically sound cards.
The difference is that they generally produce higher-quality audio, come with more I/O, and have more features than standard sound cards.
1. Audio Interfaces Have Better Converters than Sound Cards
A sound card and audio interface serve the same purpose; convert audio and digital signals.
However, audio interfaces usually have higher-quality components than other sound cards.
As a result, they’re better at preserving audio quality.
2. Audio Interfaces Have More I/O
In addition, audio interfaces tend to have more inputs and outputs than most sound cards.
Most audio interfaces come with main outputs and 1/4-inch and XLR inputs giving you the flexibility to record different instruments and mics.
Some even have MIDI ports, SPDIF outputs, and ADAT inputs, letting you expand your number of I/O digitally.
3. Audio Interfaces Have More Features
Audio interfaces tend to have better quality preamps than sound cards.
They also come with features like direct monitoring for zero-latency recording. And phantom power for powering condenser mics.
[Read more on the difference between audio interfaces and sound cards here]
Best Audio Interfaces for Beginners
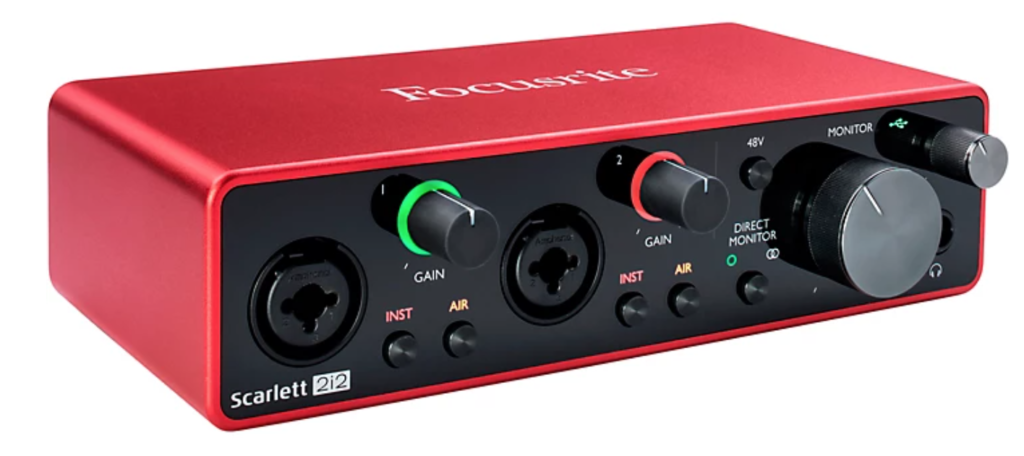
1. Focusrite Scarlett 2i2 (3rd Gen) – Most Popular
Features
– Inputs: 2 x Combo XLR/TRS Inputs (Mic, Inst, and Line)
– Outputs: 2 x Balanced 1/4-inch Outputs
– Audio Resolution: 24-bit/192kHz
– Additional Features: Direct Monitoring in Mono and Stereo, Air Mode, +48V Phantom Power, Halo Gain Meters, Exclusive Software Bundle
Why the Focusrite Scarlett 2i2 is a Great Choice for Beginners
The Scarlett 2i2 is an easy-to-use recording solution offering 2×2 I/O, low-latency monitoring, and professional-quality preamps.
With the 2i2, you’ll get all the I/O you need to record and high-quality playback audio.
Of course, you’ll also need a great mic and studio monitors. But the 2i2 will help you get the most out of your equipment.
I/O
It features two XLR inputs for mics that act as 1/4-inch inputs for connecting instruments and line-level devices.
You’ll also get two balanced 1/4-inch outputs on the back for studio monitors.
Recording and Playback Quality
In terms of recording and playback quality, the 2i2’s inputs and outputs perform very well compared to other entry-level interfaces.
Its outputs have a frequency range between 20 Hz – 20 kHz, which covers the audible hearing range.
You can also expect a relatively flat frequency response between 20 Hz – 20 kHz compared to similar units.
With a flat frequency response, the 2i2 can produce frequencies in your audio with greater accuracy – leading to high-quality playback for mixing.
Air Mode and Additional Features
Other features include direct monitoring in mono and stereo for zero-latency recording. LED halo gain meters for setting levels and monitoring clipping. And +48V phantom power for powering condenser mics.
Lastly, a feature unique to the 2i2 is Air Mode which imitates the air effect from Focusrite’s ISA mic preamp.
With Air Mode activated, your audio will sound brighter and more open.
In summary, the 2i2 is a simple-to-use interface with all the features you need to produce professional-quality music from home.
2. PreSonus Studio 24c – Best Value
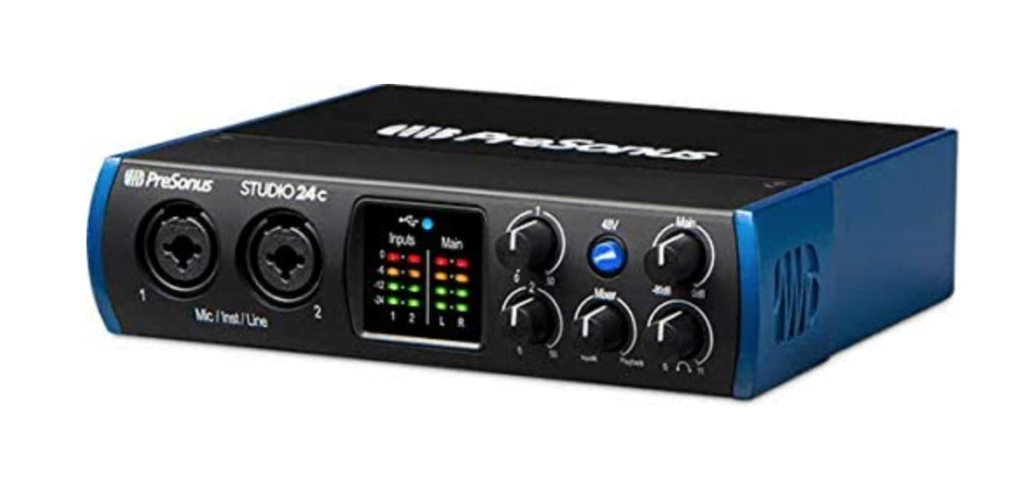
Features
– Inputs: 2 x Combo XLR/TRS Inputs (Mic, Inst, and Line) | MIDI In
– Outputs: 2 x Balanced 1/4-inch Outputs | MIDI Out
– Audio Resolution: 24bit/192kHz
– Additional Features: Direct Monitoring, +48V Phantom Power, XMAX-L Solid-State Mic Preamps, LED Level Meter, Exclusive Software Bundle
Why the Studio 24c is a Great Choice for Beginners
The PreSonus Studio 24c offers a ton of value at its price point.
It features two high headroom combo inputs (mic, inst., line) with professional quality XMAX-L preamps.
Like the 2i2, you can rely on the 24c to deliver excellent recording and playback quality.
It also includes a mixer control knob, which lets you blend the direct signal from your input and the signal from your DAW.
In our opinion, a mixer knob gives you more flexibility than an on/off switch for direct monitoring.
With it, you can reduce latency while also recording with effects.
[Check out our full review on the PreSonus Studio 24c]
Related Questions
What’s a Studio Monitor?
Studio monitors are the best choice for audio and music production because they have a flatter frequency response than regular speakers.
Since studio monitors have a flatter frequency response, they can produce frequencies in your audio with greater accuracy.
In other words, with studio monitors, you’ll hear your audio as is.
As a result, you can make informed mixing decisions on which frequencies to highlight or minimize.
Conversely, regular speakers alter frequencies to “improve” audio quality.
For example, they tend to boost lower frequencies to bring out more bass.
What’s an Audio Interface?
An audio interface links studio monitors, microphones, instruments, mixers, and other audio equipment to your computer.
Mics and instruments let you capture analog signals.
You can think of analog signals as audio waveforms representing sound traveling through the air.
However, computers can’t process audio without a sound card – they can only process digital signals.
An audio interface converts analog signals into digital information that your computer can understand.
Then, it reproduces audio signals from digital information for playback.
Interfaces also come with multiple I/O, mic preamps, gain controls, volume controls, direct monitoring, etc.
[Learn how audio interfaces improve sound quality here]
Is an Audio Interface Necessary for a Home Studio?
An audio interface is necessary for every producer, self-recording artist, or engineer looking to record studio-quality music from home.
Luckily, plenty of budget-friendly audio interfaces deliver excellent sound quality.
[Here’s why you need an audio interface for music production]
Takeaway: Do you Need an Audio Interface for Studio Monitors
To optimize sound quality from your studio monitors, we suggest connecting them through an audio interface.
Why?
Audio interfaces have high-quality D/A converters.
As a result, the sound from your monitors will be more transparent.


