Failing to connect your mixer to your audio interface the right way can damage your equipment or degrade your sound quality.
We want to avoid this at all costs!
Here’s a simple 5-step guide on how to connect your mixer to your audio interface.
Let’s get straight into it so you can start recording!
Overview: 5 Step Guide
Here’s how to connect your mixer to your audio interface in 5 steps:
- Adjust the knobs on your mixer and audio interface
- Connect your microphone or instrument to your mixer
- Find line output on your mixer
- Connect mixer line outputs to audio interface line inputs using a TRS cable
- Turn up gain on your mixer
5 Step Guide on Connecting a Mixer to and Audio Interface
What you Need to Connect a Mixer to an Audio Interface
- A mixer with line-level outputs
- An audio interface with at least two line-level inputs
- Two ¼ TRS cables
- A computer for recording audio
- A Microphone with an XLR cable (or Guitar with TRS cable)
Step 1: Adjust the Knobs on your Mixer and Audio Interface
A mixer has several EQ, pan, and gain level knobs for each channel.
Set these knobs to “U” or unity before connecting your devices. “U” represents zero or the neutral position.
You’ll also want to turn the gain on your audio interface all the way down.
If you haven’t already, now’s a good time to turn on your mixer by connecting it to a power outlet.
From there, connect your USB audio interface to your computer and load up your DAW.
Now you can start connecting your devices…
Step 2: Connect your Microphone or Instrument to your Mixer
Each channel on your mixer can receive a mic or line input signal.
Connect your condenser or dynamic mic to the first channel on your mixer using an XLR to XLR cable.
For a guitar, you’ll need to use a direct box.
A direct box converts your instrument signal into a mic-level signal.
From there, you can connect your DI box to your mixer’s mic inputs using an XLR cable.
[Learn more about how to use a direct box]
Next, you can connect your mixer and audio interface…
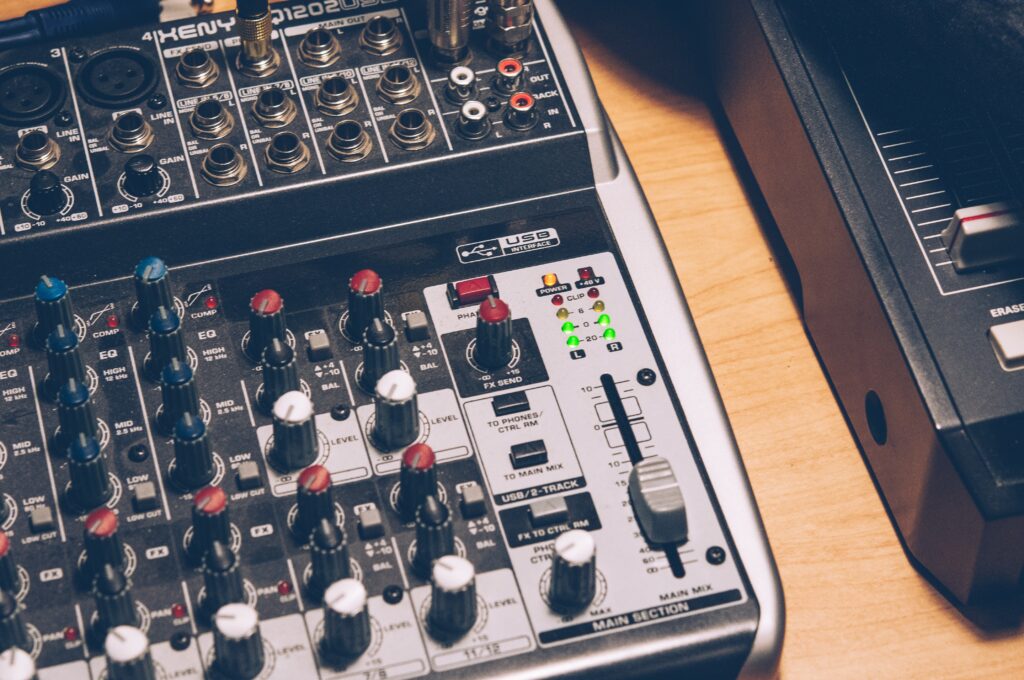
Step 3: Find Line Output on your Mixer
Locate the output on your mixer labeled “STEREO OUT,” “CTRL OUT,” or “CR OUT.”
The label will vary depending on the brand you’re using.
You can also use the “MAIN OUT” ports with a line-level mixer.
Step 4: Connect TRS Cables to Mixer Line Outputs to Line Level Inputs of your Audio Interface
To link your devices, you can use two TRS cables.
Insert one end of your first TRS cable into the left stereo output – or left ctrl/main output – of your mixer.
Insert the other end of the same TRS cable into a line-level input of your audio interface.
At this point, you’ll want to repeat the same process with your second TRS cable.
Take one end of your second TRS cable and insert it into your mixer’s right stereo output – or right ctrl / main output.
Connect the other end of this same cable to the second line-level input on your audio interface.
Just one more step, and you’re ready to record!
Important Note: Why Use Line Level Inputs?
Your mixer has a built-in preamp.
As a result, it’ll boost your mic signals to line level.
In other words, your mic signal will already be at line level when it reaches your interface.
As a result, you’ll want to connect your mixer’s line output to a line-level input on your interface.
Using instrument and mic inputs will send your signals through another preamp – which can cause distortion and even damage your equipment.
Step 5: Turn up Gain on your Mixer
Now it’s time to get your mic or instrument ready to record.
Earlier, you turned the gain on your devices to zero or “U.”
At this point, you’ll want to turn up the gain on your mixer until the mixer’s LED level meter is hovering around 0 dB.
If you don’t have a level meter on your mixer, you can monitor your volume levels through your DAW.
What’s the Best Cable for Connecting a Mixer to an Audio Interface?
Audio mixers usually have three kinds of outputs: TRS, XLR, and RCA.
The best cable for connecting a mixer to an audio interface is a TRS or XLR cable.
Balanced Cables
When sending signals, TRS and XLR cables are less likely to pick up interference (noise).
Why?
Because they’re balanced cables.
Without getting too technical, a balanced cable uses two wires to cancel out noise and interference.
Simply put, a balanced cable preserves the quality of a signal, specifically over long runs.
Unbalanced Cables
An RCA cable is unbalanced – it uses one wire instead of two.
A signal passing through an unbalanced cable is more likely to pick up interference when traveling more than 10 – 15 feet.
However, using unbalanced cables in a home studio shouldn’t be an issue.
A mixer and audio interface will likely be on the same desk in a small studio.
In this case, you can connect them using a 10-foot (or less) RCA cable and without having to worry about interference.
In this case, you can connect your devices using a TRS cable.
Ways to Use a Mixer in your Home Studio
1. Add Effects to your Recordings – On-Device Processing
A mixer is great for adding EQ, compression, or pan to your audio as your recording.
Do the acoustics in your room make your vocals sound thin?
If so, you can boost the low end on your mixer’s EQ to add warmth to your recording.
Also, if you’re recording two mics at once, you can create an interesting mix by adjusting the pan settings on your mixer.
The possibilities are endless…
Do you Need a Mixer for Music Production?
Chances are, if you’re reading this post, you know you don’t need a mixer; you have one in your DAW.
Everything you can do with an analog mixer, you can do digitally.
Regardless, it’s a cool piece of equipment to have.
With a mixer, if you boost the low end using the EQ on your mixer – or add any effects – you can’t undo this adjustment after you record.
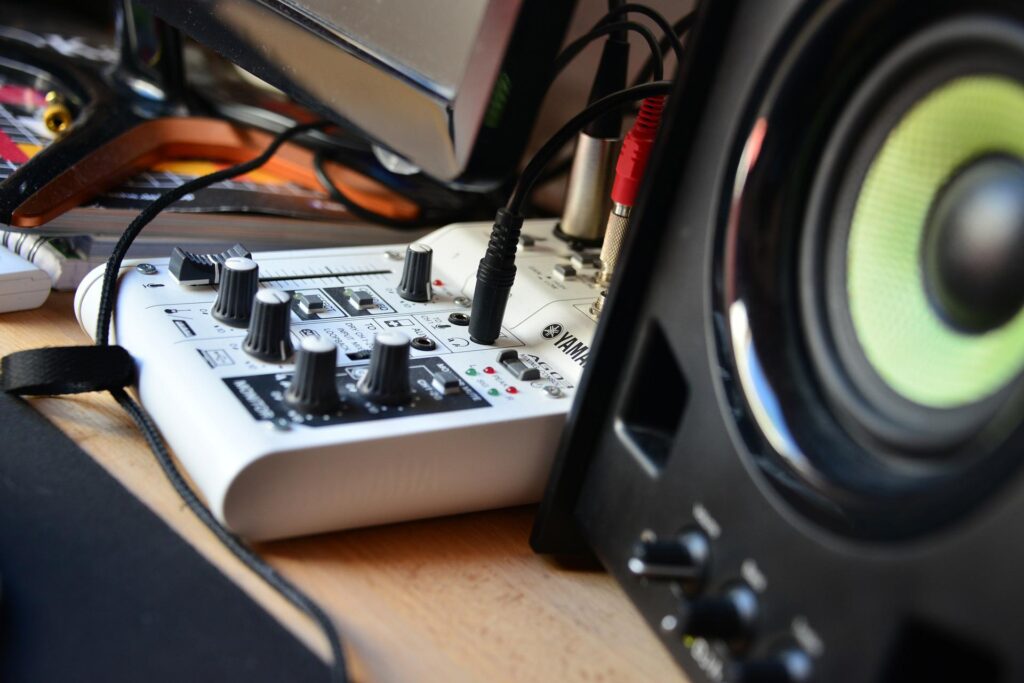
2. Connect all your Equipment to One Device – More Inputs and Outputs (I/O)
Using a mixer in your home studio is a cost-efficient way to expand your inputs and outputs.
For example, the Yamaha MG10XU, for around $200, comes with 10-inputs.
Also, the compact Behringer XENYX Q1202 has 12 inputs for around $100.
You can route your signals to an audio interface. Or you can connect your mixer to your computer via USB and record your instruments directly.
Having more I/O with a mixer gives you the versatility to record multiple devices.
You could always buy an audio interface with more inputs.
But you could also use a mixer and take advantage of its built-in effects.
Related Questions
Does a Mixer Improve Sound Quality?
Yes, using a mixer can improve sound quality.
It has frequency controls – letting you boost or cut frequencies sound want to stand out or minimize.
You can also add compression and control pan settings.
What’s the Difference Between a Mixer and Preamp?
Preamps add gain to low-level signals to increase them to line level – the appropriate level for recording.
Many mixers have built-in preamps like audio interfaces.
Also, tube preamps can alter audio by adding warmth.
On the other hand, mixers give you more control over frequencies and other mixing effects.
[Learn how to connect a preamp to an audio interface here]
Do I Need a Mixer if I Have an Audio Interface?
You don’t need a mixer if you have an audio interface.
These days, analog mixers aren’t common in-home studios.
Conveniently, the mixer in your DAW fills the same role as an analog mixer. And it has more channels.
[Click here to learn how audio interfaces improve sound quality]
How do I Connect my Mixer to my Computer for Recording?
Some mixers connect directly to computers via USB.
These types of mixers have a built-in audio interface.
You won’t have to worry about getting extra cables and connecting your mixer to your audio interface.
Takeaway: How to Connect a Mixer to an Audio Interface
Connecting a mixer to an audio interface is simple.
Using two balanced TRS cables, connect the line outputs of your mixer to the line inputs of your audio interface.
Before doing this, adjust the knob levels on your devices to the neutral position.
Once everything is connected, you can begin adjusting levels to the proper levels for recording.