With the rise of social platforms like Twitch, many content creators wonder how to set up a microphone for streaming.
It’s simple.
Here’s what you’ll need:
- Dynamic microphone (recommended)
- Mic boom arm or stand
- Windscreen (or pop filter)
- XLR cable (or USB cable
- Hard surface (desk or table)
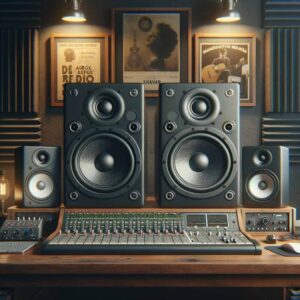
- Audio interface or mixer
Overview
To set up a mic for streaming:
- Attach your mic to a boom arm or mic stand.
- If you’re using an XLR mic, connect it to an audio interface.
- Once you have your mic set up, adjust the gain for your mic until you’re happy with the signal.
How to Set up your Mic for Streaming in 7 Steps
Step 1: Place your Mic in a Shock Mount
The first action we suggest you take when setting up your mic for streaming is placing your mic in a shock mount.
Why?
Naturally, streamers tend to adjust their microphones a lot during streams which can lead to some pretty bad feedback.
A shock mount works by suspending your mic in a mount to isolate it from nearby surfaces.
The mount absorbs handling noise and other outside vibrations, preventing them from reaching your mic.
To place your mic in a shock mount, slip your mic through the mount’s inner ring. Some shock mounts also require you to fasten your mic from the bottom.
Keep in mind some microphones, like the Shure SM7B, have a built-in shock mount, eliminating the need for an external one.
Shock mounts are an essential part of any streamer’s toolkit and are relatively inexpensive.
Investing in one is a great place to start if you’re looking to improve your stream’s sound quality.
Step 2: Attach your Mic/Shock Mount to a Mic Stand or Boom Arm
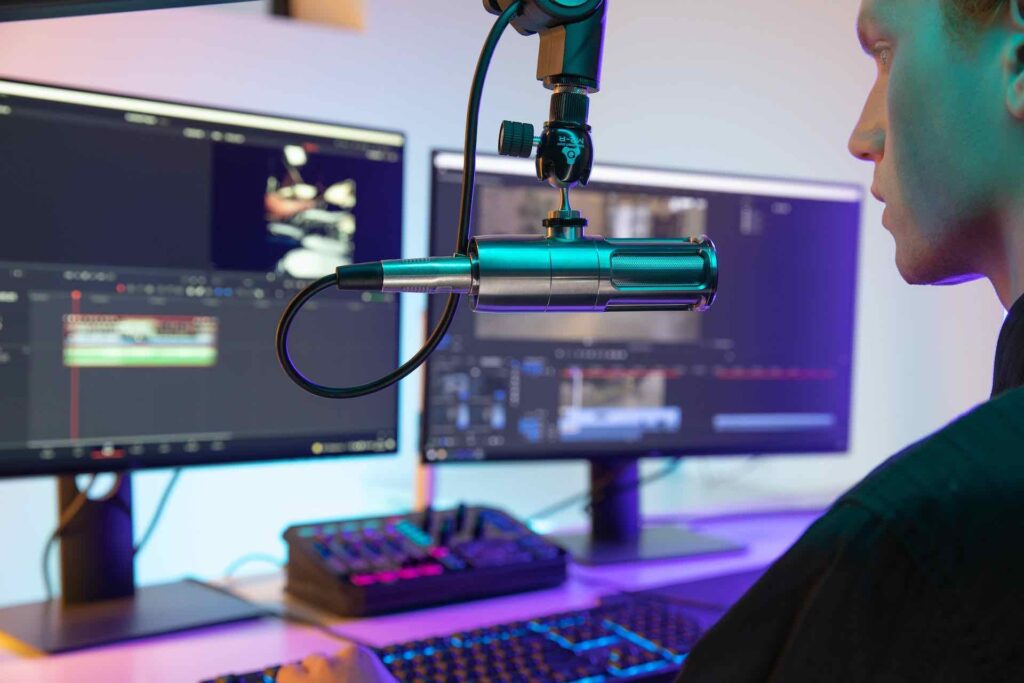
Once you have your mic in a shock mount (or a mic with a built-in shock mount), connect the shock mount to a mic stand or boom arm.
Mic stands are inexpensive but can get in your way if you have limited desk space.
Therefore, most streamers these days prefer a boom arm over a mic stand.
Mic Boom Arms
A boom arm is an adjustable metal arm that can suspend your mic over a desk.
You can position it in various ways to get your mic exactly where you want it. Plus, it’s more professional looking than a mic stand and easier to store when you’re not using it.
On the downside, a cheap boom arm tends to break easily, and a durable one can be relatively expensive.
How to Set up a Mic Boom Arms
A boom arm will have a clamp to attach it to a desk.
Position the clamp around the top of your desk.
Then, tighten the clamp to secure the arm in place.
Step 3: Add a Windscreen (or Pop Filter, if necessary)
Once you have your mic on a mic stand, you can add a windscreen or pop filter if you haven’t already.
Placing a windscreen over a dynamic mic should do the trick for streaming. Windscreens prevent plosives (p, b, and t sounds) from hitting your mic capsule.
When plosives hit your mic directly, they produce popping sounds, making your audio unlistenable.
A windscreen can also help reject background noise and room ambiance.
While it may slightly reduce high frequencies in your audio, it can make your voice sound more focused in a recording room with poor acoustics.
Lastly, a windscreen helps to keep your mic clean by protecting it from saliva and other debris.
If a windscreen isn’t effective enough (at reducing plosives), consider placing a pop filter 4-6 inches away from your mic.
Step 4: Position your Mic 6-8 Inches from your Face
There are a few guidelines you can follow to help ensure that your mic is positioned correctly for streaming.
Assuming you’re using a cardioid mic (a mic that only picks up sound from directly in front of it), then it’s generally best to position the mic about 6-8 inches away from your mouth.
This distance helps minimize room noise while preventing your mic from picking up too much of your breath.
Experiment with different mic placements to find what sounds best for your setup.
Step 5: Angle your Mic
Knowing your mic’s polar pattern is important when setting it up for streaming.
The most popular streaming mics tend to have cardioid polar patterns.
In other words, they register sound directly in front of it and reject sound from the sides and rear.
With that said, you can angle the back of your cardioid mic toward your computer to block out typing and fan noise.
Also, keep in mind your voice will be fainter if your cardioid mic is off to the side. Take advantage of your mic’s polar pattern to control how it picks up sound for the best results.
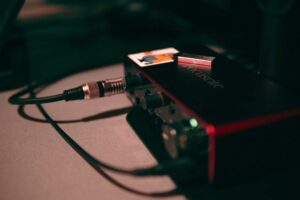
Step 6: Connect your Mic to an Audio Interface or Mixer (if necessary)
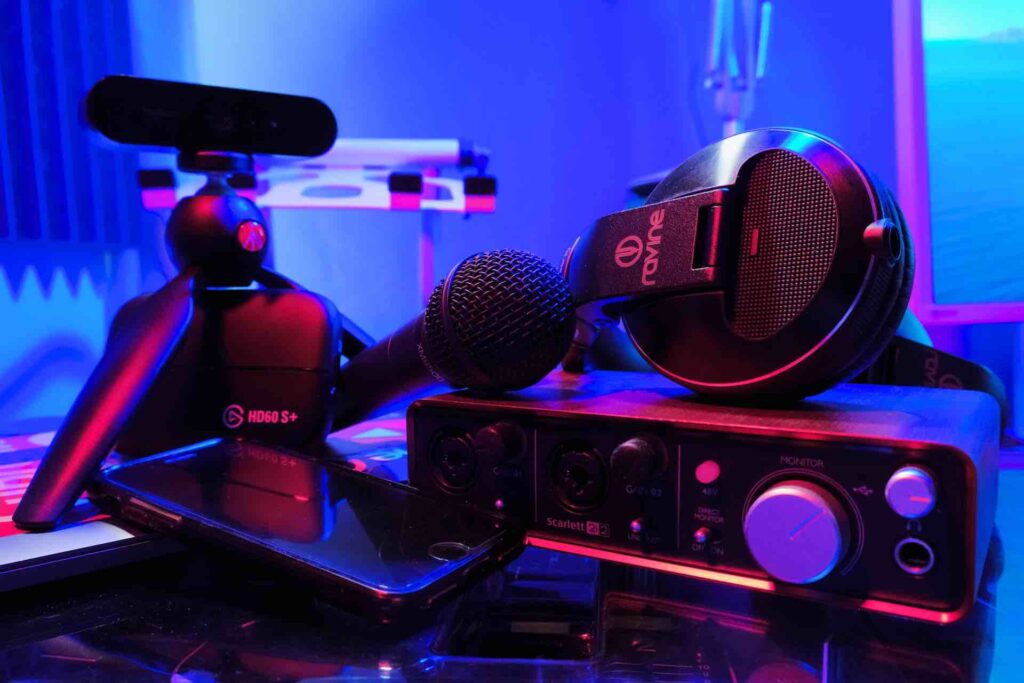
Now that you have your mic on a boom arm connect it to an audio interface or mixer.
You can also connect directly to your computer if it’s USB compatible.
If not, we recommend an audio interface with a high gain, low noise mic preamp (for dynamic mics). Some of our favorite choices are the Solid-State Logic SSL 2,
To connect a mic to an audio interface or mixer, insert one side of an XLR cable to the necessary slot on your mic.
Then, connect the other end of the cable to an available XLR input on your interface/mixer.
Finally, plug the USB cable into a USB slot on your computer.
Step 7: Adjust the Gain on your Audio Interface
Microphones, especially dynamic mics, have low output levels.
As a result, you’ll need a mic preamplifier to boost your mic signals to the proper level for recording.
Most audio interfaces and mixers have built-in preamps.
Related Post: 4 Audio Interfaces with the Best Mic Preamps
How to Set Gain
Finding the right balance of level and headroom is key to setting gain.
You want your signal to be hot enough, so it’s not buried in the mix, but not so hot that it distorts.
A good rule of thumb is to set your mic gain so that your signal’s peaks are hitting around -12dBFS on your recorder. This level should give you plenty of headroom to work with and help avoid clipping.
Listen to your microphone input through headphones and keep turning up the gain until you start hearing distortion.
Then, back off the gain until the distortion disappears. That’s where you want to be.
If you’re using a mixer, the process is similar.
Just find the right balance of level and headroom, so your signal is hot but not distorted.
Summary
Setting up your mic for streaming is simple.
Attach your mic to a stand or boom arm.
Use a windscreen or pop filter to avoid recording plosive sounds.
Connect your mic to an audio interface or mixer and set your gain to the appropriate level.
Here are some tips to maximize your sound quality:
- Adjust the mic’s polar pattern if necessary. For most streaming applications, a cardioid pattern will work best.
- Point the mic towards your mouth, and experiment with different angles and distances until you find a sweet spot where the sound is clear and natural.
- Monitor your levels and make sure they’re not clipping. Turn down the mic gain or move it further away from your mouth if they are.
Start streaming and see how it sounds! Adjust until you’re happy with the results.